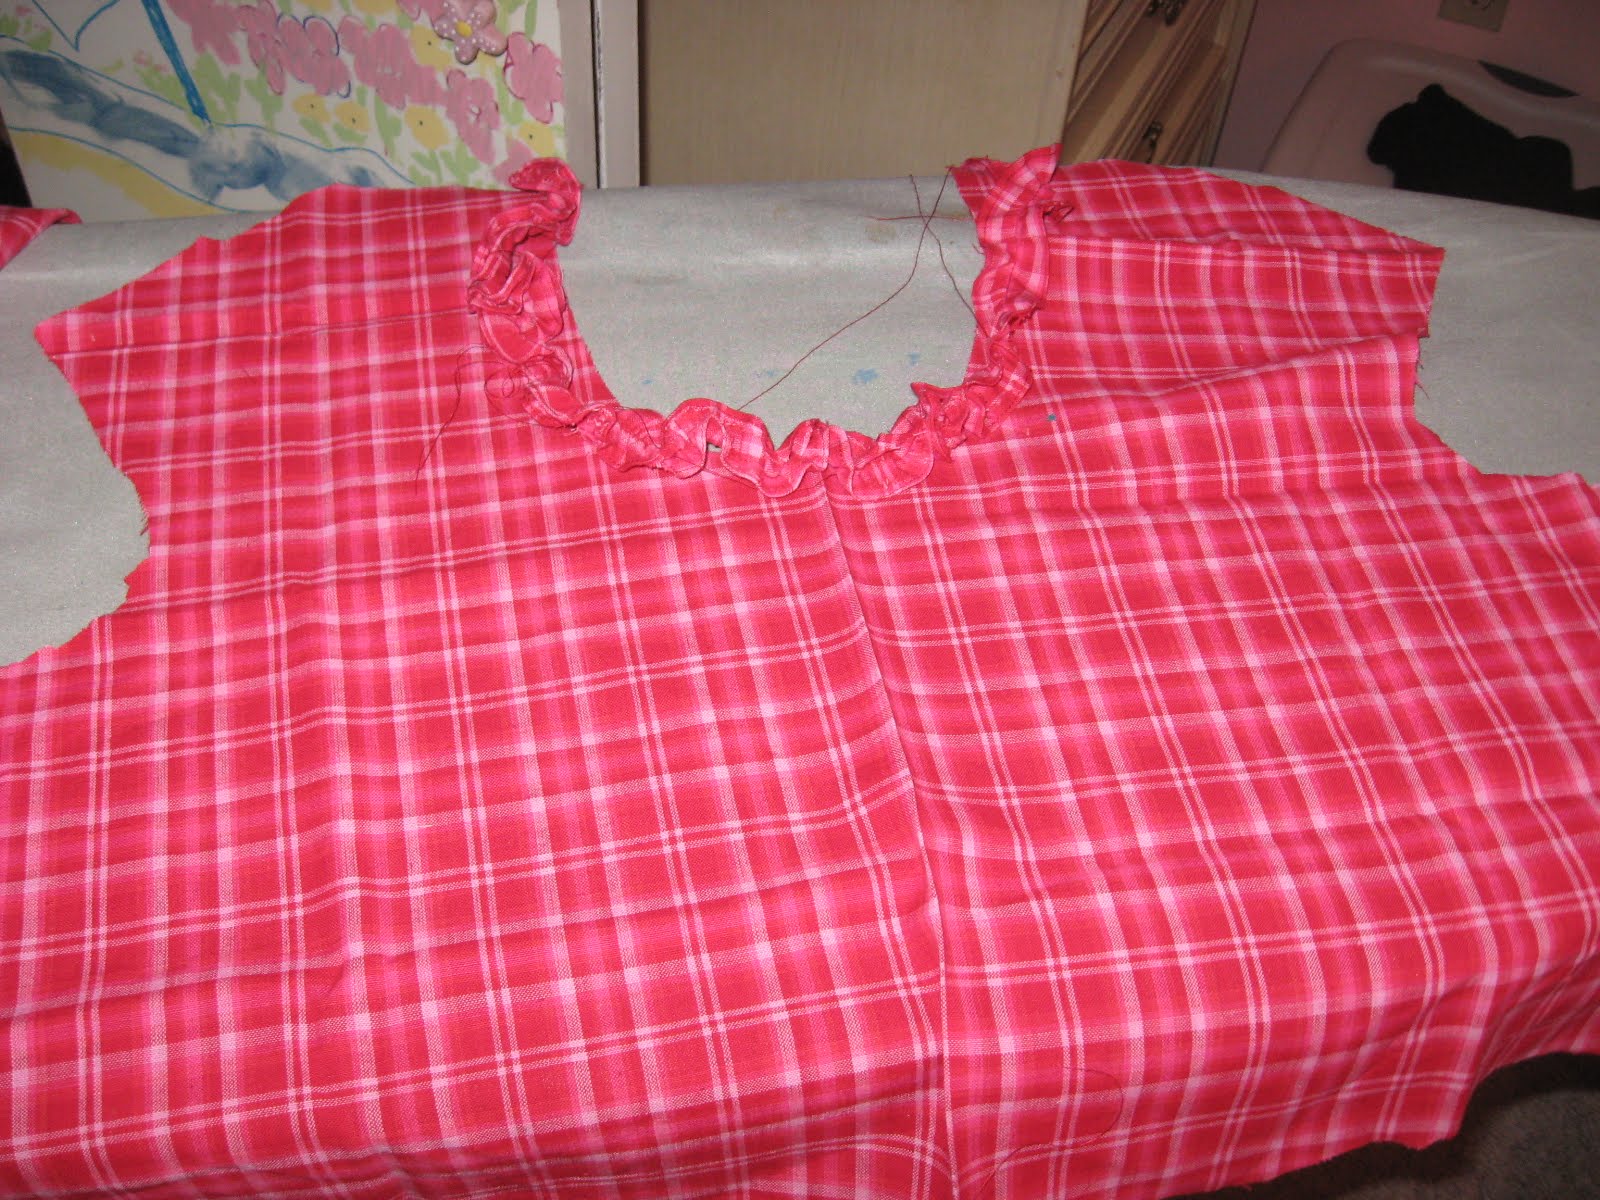
 ok, so here is my starting point--the pattern that i am trying to re-size and get upgraded for production. I have adored this pattern in my collection for years, but have not made it up before, since it was a really small size. I really didn't have the motivation to up-size it for only me. So after a few days of sewing i finished the first mock-up!
 Here is my dear friend, Sarah, wearing the first make up of the dress. Doesn't she look cute? Ok, she is headless. She made me do that on account of not wearing any make-up or cute hair at the moment. And, no, you are not going to be required to keep on your other clothes while wearing this dress. In the interest of being quick, and also since i knew it was going to be big, we left her clothes on. The pockets in the front were a big hit. They are so cozy and convenient. and at just the right height for resting.
 Here is the dreaded zipper, oh he who shall not be named!!! After 3 tries it finally went in smoothly and looks good. I am actually really happy in how it ultimately looks. However, in mid-stream i was seriously considering the alternate instructions to put in snaps.
 Ok, so here is Headless Sarah being all model-like. In trying it on i found that the fit, although fitted in the picture, actually allows for quite a bit of ease. So, for a smooth, snug fit, Sarah could wear a almost 2 sizes smaller. I was happy that the neck is a not-too-low scoop and that the shoulders and waist sit very nicely. When i get it on someone who is the right size i will have some cute shots made--hemmed with heels and heads not cut off.
My next job, after i finish a few friend projects, is to sew it up a second time in the yellow floral, with the 3/4 sleeves. I may go ahead and size it up or down one size, since the original came out so beautifully with no real adjustments needed.
thanks for looking!